I need a micro landing page similar to Linktree but on top of WordPress. I could use Linktree but I already have a WordPress based website and my own domain which is good for my own branding. I found a plugin, WP MyLinks to make it happen.
As the creator of this plugin said, the function of this plugin is to build a fully customizable micro landing page for your business and personal brand.
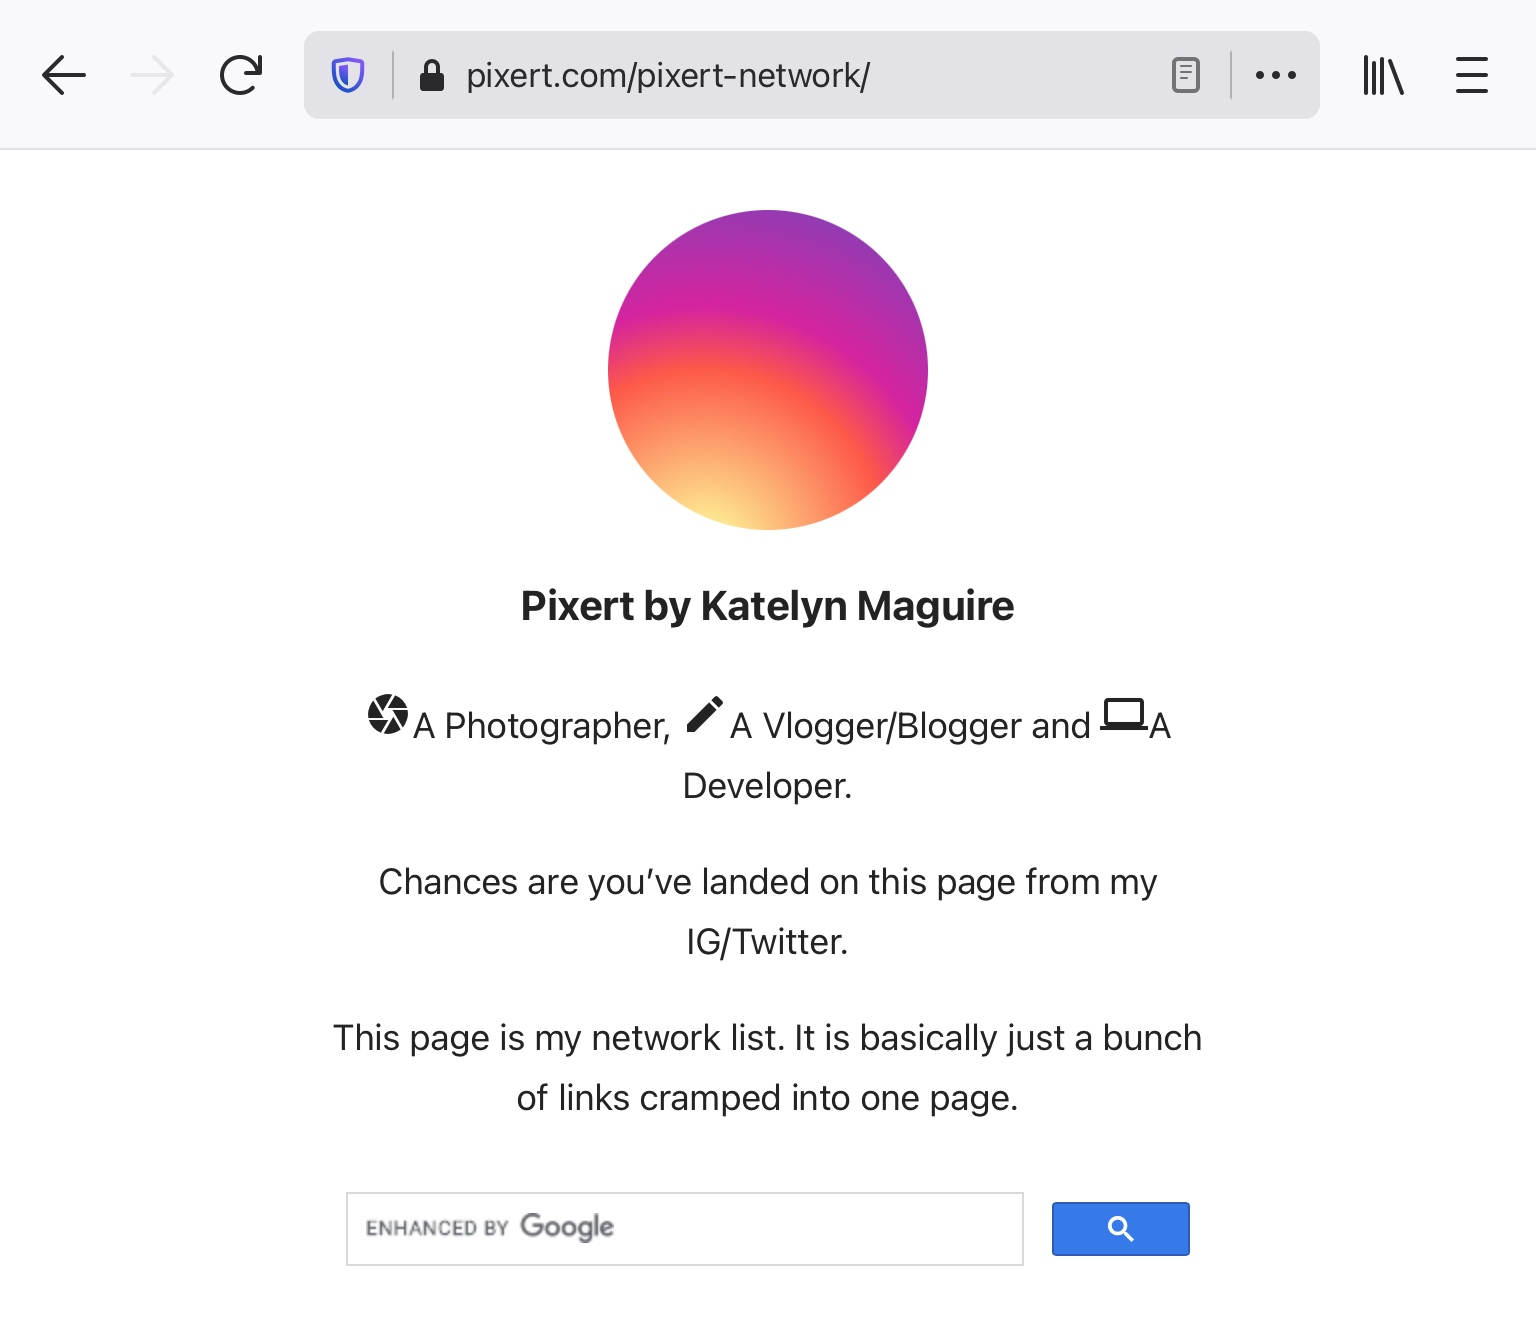
I use this micro landing page for Instagram and Twitter. Apart from being a photographer, I am also a web developer and a youtube (just starting). I want one page that can hold all of my links.
Installing Wp MyLinks is very easy, and fast. A quick search in your WordPress admin, go to Plugins> Add New then search for WP MyLinks or upload wp-mylinks folder into the / wp-content / plugins / directory.
The graciously plugin developer put a useful video on how to setup WP My Links on the Welcome page, WP-Admin > MyLinks > Settings. Just see that video, it is very helpful showing how to make a micro landing page with this plugin.
One thing I recommend to setup first is the Global configuration, WP-Admin > MyLinks > Settings > Global.. Changes to the Global configuration affect all micro landing pages created by WP My Links. For me, what I should configure is Meta Title, Meta Description, set to noindex and set to nofollow. That configuration can help with SEO.
Please take a note, this Global configuration can be overridden on the micro landing page and by your SEO plugin.
Next, the Analytics Tracking Script. I’d like to track how many visits my bio page has.
I’ve created a Micro Landing page. In summary, install the WP MyLinks plugin, setup global configration, create a landing page, adding social links, adding link of interests. That is all.
There are tips that I want to share from creating this micro landing page
with this plugin.
The description field can use HTML.
You can get a little bit creative with that.
I’m using Google Material Icons to spice things up on there.
I added the following script code in Header Script section of Custom Scripts & Styles
<link rel="stylesheet" href="https://fonts.googleapis.com/icon?family=Material+Icons">Then I add HTML tags to display icons in the description field.
<i class="material-icons">camera</i>
<i class="material-icons">create</i>
<i class="material-icons">computer</i>
Check out the three icons on my Micro Landing page.

And I also show Google Custom Search in the description. How awesome is that!
For Google Custom Search, copy and paste your Google Custom Search code from Google by separating the script code and html tags. The two have to be separated because we can’t put the script code in the description field .
I put html tags in the description field, while the script code is in the Header Script section of Custom Scripts & Styles
The html tag for Google Custom Search look like this
<div class="gcse-search"></div>Whereas the script code for Google Custom Search usually start with
<script>End with below
</script>My conclusion is I really appreciate what the developer of this plugin, it’s easy to get up and running.